Tutorial II: Take the code!
How to use this template? Well the easiest way may be to hit the “Use this template” green button on the Github repository page to copy the repository structure into your own account. You can have your website without setting up a local environment (but you can do it if you are a bit tech savvy).
After creating the project, the first thing I would do is to change the project name at the Settings tab. The name of the project will became part of the website main address. So if for example you name your repo as myblog, your website will be available at https://yourusername.github.io/myblog. There is a special case, if you name your repo as yourusername.github.io then the website will be published at https://yourusername.github.io which may be a good idea for a personal website!
Next thing to do is to customize the main settings on the _config.yml file: website title, description, base URL (remove this setting it if you are deploying to your GitHub user website), and your details. If you don’t want to show excerpts of your posts in the front page you can disable that checking removing that entry on adding a # at the beginning of that line. You don’t need to change anything else.
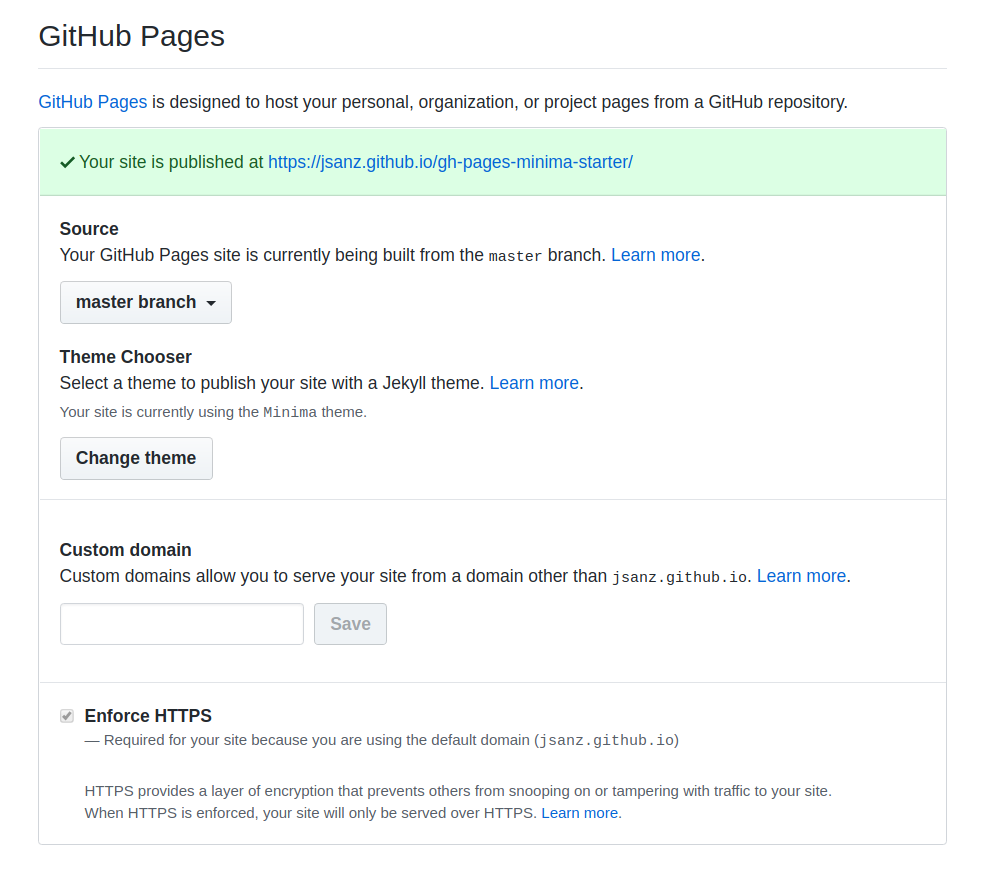
After the configuration is ready you can enable the website publishing on the same Settings page a bit further down. Remember to set up the master branch as the source of your documents. Once you save your settings wait for a few minutes and your site is ready!!
Any time you change anything in your repository you do an operation called pushing a commit. On every push the website is rebuilt. You can see the details of that process in the Environment section that is accessible from the repository front-page.
